

Budgetary restraints are always the biggest hurdle when you are building a vehicle to match a vision. They determine when you can modify your vehicle, and ultimately with what parts. I am not a rich man, so when I decide to upgrade a system on the 4Runner I do a lot of research to figure out what I need and what I don’t to get the best bang for my buck. Part of that research is using the vehicle and identifying weaker points in the build. Over the past 37k miles I have put the mostly stock vehicle to the test in various conditions. Moderate speed desert, low speed rock crawling; snow, gravel, sand, mud. Between all of the different types of terrain I narrowed the weakest points to ground clearance, ride quality, and vehicle stability. With those specifics identified I knew that a suspension system upgrade was going to be the next addition to the 4Runner.
What type of suspension upgrade do I need?
This question comes up often on social media, forum platforms, around the campfire, and it will vary from person to person / vehicle to vehicle. My first response is typically the same; What changes do you want your suspension upgrade to make on your vehicle? When upgrading my own suspension I answered that question for the 4Runner and came up with the following criteria:
Increased front ground clearance:
I found that my lack of clearance under the front edge of the skid plate caused me to stress out on trips as I was constantly worried I was going to bang into something whether at desert speed or while on technical trails. The stock vehicle will get you MANY places, but how comfortable you are on the trail is
As little strain on IFS components as possible (CV’s, KDSS, tie rods, upper/lower control arms):
Having a lower angle for all of the components means a much smaller chance of breaking something while on the trail (the closer to stock the better).
Increased comfort at speed (washboards, water bars, trail camber changes):
My stock shocks would often fade and lose performance after a short period of time on washboards, and did not have enough up travel to navigate changes in terrain.
Serviceability:
Why replace when you can rebuild? If you are a DIY’er, you’ll spend less than $100 on the rebuild kit and shock oil coupled with your labor time/tools. A big savings over replacing a set of cheaper shocks when their service life is up.
Reliability:
I don’t want to worry about failures when it comes to components; long term reliability is key.
Increased rear load capacity, while being able to drive unloaded without being too stiff:
My 4Runner is a multi function vehicle (with minimal constant weight). Sometimes it’s loaded and on the trail. Other times it’s chauffeuring my family and me to a day at the beach. I need a spring that can do double duty .
With all of these items in mind, I needed to decide which parts I wanted to incorporate into this phase of the build. Which brought me to my next question.
Is “buy once, cry once” something to consider?
I had to think long and hard about this question. There are affordable options on the market to achieve a lift on the 4Runner that range from OEM style mono tube shocks to a higher end non-rebuildable shock. They would have achieved some of my criteria but they would have ultimately come up short in long term reliability and performance. I decided that I wanted to invest in a high end, rebuildable shock that would perform when I needed it and would be reliable in the long run. I had talked with many vehicle owners that had gone with the cheaper route initially and had eventually upgraded anyways. So yes, buy once, cry once is a thing. The downside for me is that it took longer to save for what I eventually purchased, and I was ok with that. This particular upgrade would be worth the investment and the delay.
With my upgrade criteria and budget determined, I set out into the vast world of off-road products to decide what I wanted to include in this phase of the build. To start, I took to the forums; I spent countless hours pouring over different builds and threads discussing suspension upgrades. Through all of my research I came across a few key items specific to the 4Runner that would affect the build:
Lift height:
4Runners can tolerate up to a 3” lift without much modification. Anything more than that needs additional items such as new rear linkage, new CV half shafts and longer lower control arms. If the goal is to have more than 3” of lift, a long travel kit is a more suitable option to keep the suspension geometry in check and to keep it compliant on the road.
Upper control arms:
UCA’s are needed on the 5th generation 4Runners when lifting more than 1.5-2” to allow for proper alignment specifications.
KDSS:
The KDSS system will work with up to a 3” lift, but when lifted it will suffer from “KDSS lean” which makes the vehicle lean to the passenger side (opposite of “Toyota lean” which affects the driver’s side)
Rear lower control arms:
These can be a weak point on the 4Runners (and FJ’s) as they are exposed to potential obstacles and can be bent rather easily
After identifying which components would be replaced for this phase of the upgrade, I spent some time looking at the different manufacturers to decide what I would replace them with.
Total Chaos Upper Control Arms:
These are one of the upper control arm options that are very popular amongst the Toyota crowd. With a solid chromoly tubular design, polyurethane bushings, and a strong uniball, these are about as basic and bulletproof as they come. They have to be maintained by lubrication and cleaning to achieve optimum performance as with any other uniball upper control arm, but it is a simple process.
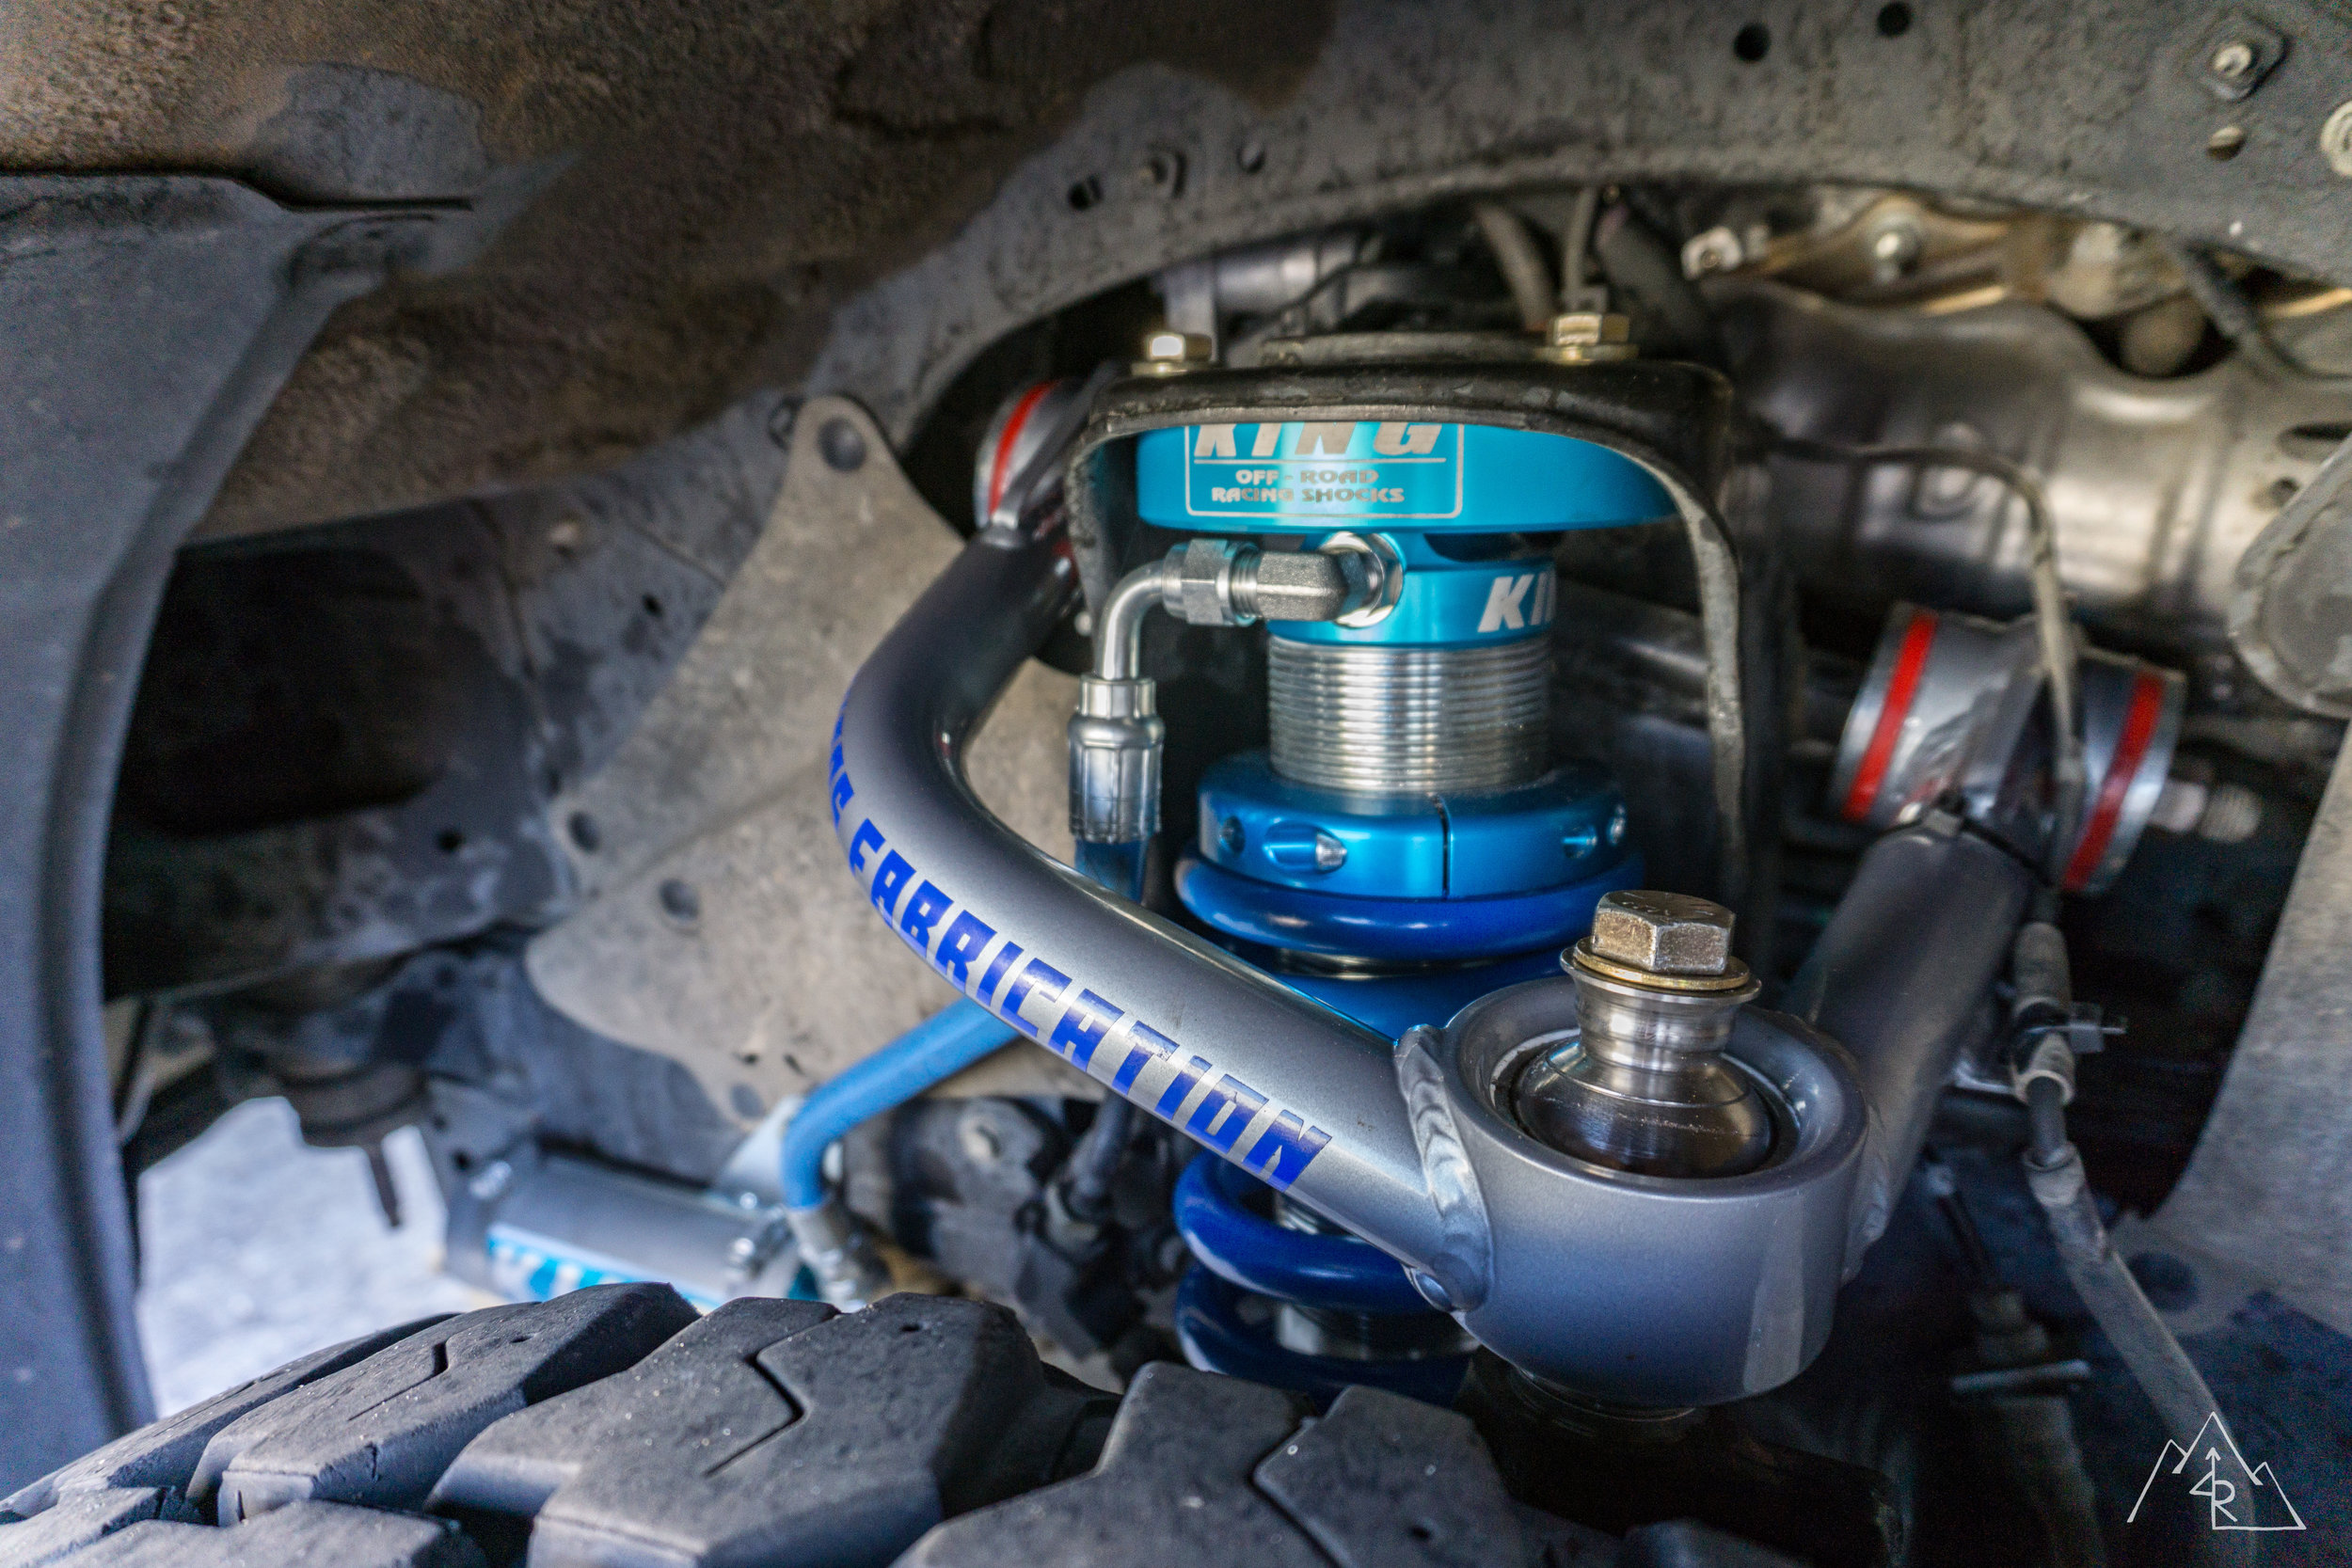
King 2.5” OEM Performance Series Shocks, extended travel:
When it comes to performance shock upgrades for Toyotas, there are but a handful of companies that make a worthy rebuildable shock. What it comes down to is personal preference. The first choice is progressive valving versus digressive. Fox / King (there are others) use a more linear / progressive valving which is better for smoothing out both small and large bumps on the trail. Icon (there are others) uses a primarily digressive valving, which works better for handling and low speed turns/terrain. I know this is an oversimplification of the differences but what I determined from my research is that a progressive valved shock will perform better for my 4Runner. The second choice is what features you want on your shocks. King comes only as a remote reservoir shock and offers compression adjustability. Fox offers options with and without reservoirs, with and without compression / damping adjustments. Because of the terrain I typically drive on (washboards and faster trails) I decided that I wanted remote reservoirs to help with shock fade and cooling. After researching and talking to others with and without them, I decided that I did not want adjusters. This would help with the overall budget, and it’s not a closed door meaning I can add them later if I felt it was needed. The final choice, which is repeated over and over on the forums, is what color do you like? Meaning that once you decide which type of valving / features you want it comes down to which company that you like better. Look at customer service history and who can rebuild specific shock brands local to you to help decide which brand will ultimately work best for your application. For me, it was King Shocks. Their customer service is known for being great and I can attest to that. I called before purchasing to ask some technical questions and was met with an actual person on the line with legitimate answers to all of my questions. This left a good impression and helped to make the purchase that much simpler. One extra choice with King was whether or not I wanted extended travel shocks. This happens by removing an internal spacer, extending the droop travel. I opted for this option because there is no harm in having more down travel on my 4Runner.
Dobinsons 2” Rear Spring, KDSS specific, “stock” spring rate:
I wanted a rear spring that was between 1.5 and 2 inches to keep the 4Runner as close to level as possible with a 2 to 2.5 inch lift in the front. The 2 inch variant was right for the job. I chose the stock spring rate because it’s still 15% stiffer than the OEM springs and has a 228 pound rating. This means that for every 228 pounds of additional weight, the springs will drop 0.5”. Because my 4Runner is a multi-function vehicle, I wanted to retain drivability when I am not at full weight. After calculating my full trip weights, I determined that the stock weighted springs would not sag too much when loaded and for now they would suit my requirements. If I add any future upgrades (bumper, rear storage/organization, etc), I will need to recalculate and reconsider spring rates. Dobinson offers the same spring height in a few different weight ratings, so I will have options when the time comes.
Metal Tech 4x4 Lower Links:
Stronger lower links on these 4Runners will help when in rocky terrain. The stock links are inherently weak and are prone to bending when faced with a rigid object such as a rock. These stronger links solve that problem over the stock links with thicker tubing, a Johnny Joint and an offset bushing for additional clearance. They’re greaseable for extended service and should last the life of the vehicle.
Install yourself:
If you are mechanically inclined and have the space to install your new lift, it’s a rather straightforward process that is well documented on the T4R.org forum. The most challenging aspects of the install come from the KDSS system (if equipped) and the equipment needed to seat or adjust the coilovers. The KDSS system requires an additional couple of steps that limit the piston movement using straps (again, well documented on the forum). The spring compressor will be needed for those installing springs onto the new struts if they don’t come pre-assembled and for properly adjusting adjustable coilovers. Most local shops will have one and can assembly or adjust your coilovers for a fee. This is the best option as the rental spring compressors available at most auto parts stores can be hard to handle and unsafe. Take the time and you can be the proud installer of your own suspension upgrade!
Have it installed:
Maybe you know what you’re doing or don’t have the space or the time. Or maybe you don’t know a think about suspension and a 10mm Toyota joke means nothing to you. Whatever the reason, there is no shame in having someone else do work that you can’t or don’t know how to do on your vehicle. I opt’d for this route because I didn’t have a great space to do the work and honestly for the money saved and spent on this upgrade I would rather have someone with the knowledge do the installation the right way, dialing in my particular preferences. You will want to find a reputable shop in your area that has good knowledge of your vehicle (especially if you have KDSS) and the type of shocks that you are installing. If you purchase rebuildable shocks, finding a shop that can install and eventually service your shocks in house down the road will be a big plus and will shorten vehicle down time. Find a good shop, don’t argue the prices of good work and get it done!
NOTE: When you have work done on your vehicle (regardless of what it is), ALWAYS check your bolts and re-torque them appropriately after a short “shake down” period. Bolts can stretch / settle post installation and can loosen or fall off if not monitored or retorqued. If you cannot do it yourself, set an appointment at your install shop to have them re-check their work. Another good suggestion for your installer is to have them use a thread locking fluid on any bolts that see heavy vibrations or rattling. Provide it for them if they don’t have it. It’s extra security for bolts that are harder to access and can save you a lot of headache down the road. Ask me how I know…
Impressions:
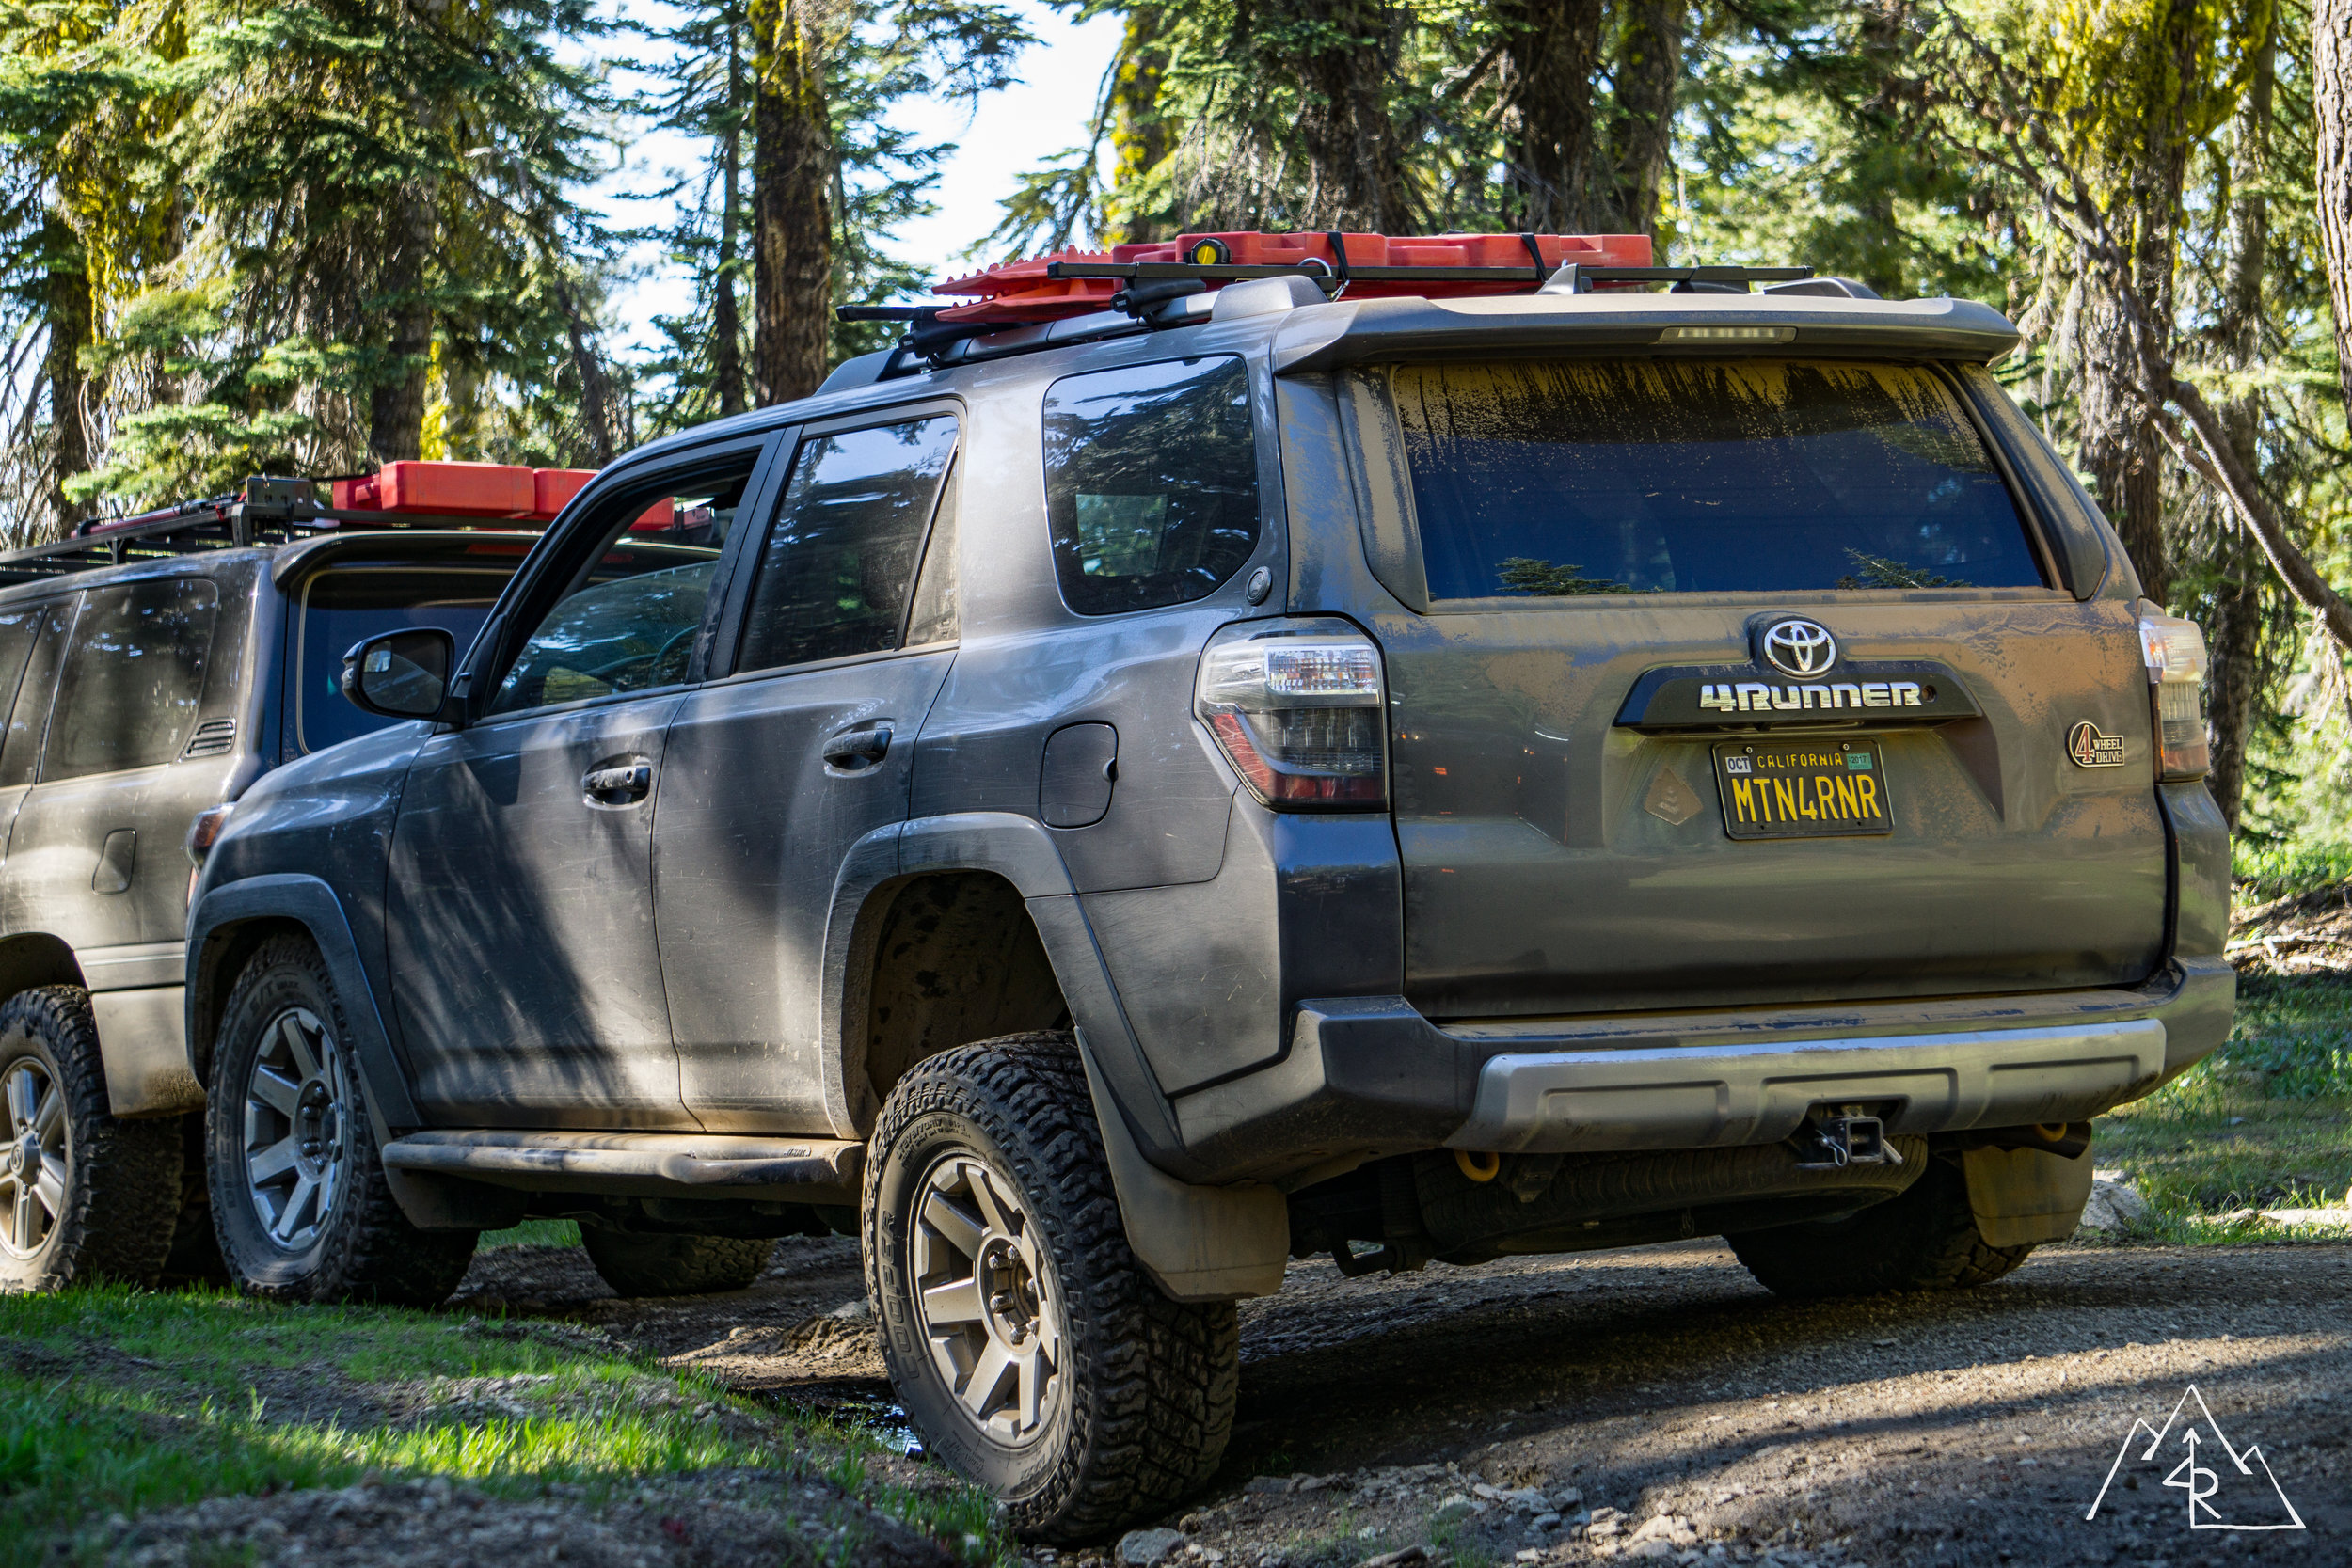
After having put a few thousand miles on the 4Runner since the upgrade I can say that the decisions that I made beforehand have really changed the vehicle in all of the right ways. The ride quality has greatly improved (and continues to do so as the springs break in), the ground clearance is optimal, and the off road performance is exceptional. I can easily see why this upgrade is so high on many people’s build list, but I am glad that I spent my due time with the stock suspension really getting to know my 4Runner’s capabilities. On road, small bumps are still felt similar to the stock suspension, but any bigger pothole or overpass bump and there is a noticeable difference between stock and King. Cornering is confident and the common 4Runner “brake dive” is greatly reduced. On the dirt, small bumps and rocks are felt while at full tire pressure but are smoothed out when the pressure is reduced. Large bumps, drops and camber changes are soaked up with a smooth transition making the ride very stable and much more capable. I continue to learn the new personality that the 4Runner has with every mile and can’t wait to hit the trail.
4k mile update: The springs have properly broken in and the ride has greatly improved. Smaller bumps have become less noticeable and off-road behavior has become more predictable as I have gotten used to it. I am still waiting for a proper washboard trip where I can push the Kings harder, but on the trails the biggest improvement so far has been the increase ground clearance. No more dragging belly!
Post-installation notes:
I did have one issue that I came across with the installation of my lift. The adjustment and spring rate of the King coil overs is a bit ambiguous out of the box. The instructions note that there is roughly 1” of lift per 5 turns of the adjustable collar. The confusion comes with what a turn means in relation to threads exposed, and how much of a lift over stock the Kings have with the collar at zero adjustment. What I learned after some research is that the coil overs with zero adjustment will lift the front of the 4Runner about an inch and a half to level the vehicle. Mine were installed first with 12 threads (6 turns) showing, and the 4Runner had about 2.75” of lift over stock and rode stiff. Not happy with the outcome the installer brought the 4Runner back in and readjusted the collars to 10 threads on the driver’s side, 9 threads on the passenger. The difference in threads is because they were adjusted on the vehicle, limiting the number of turns that can be done. This is not ideal, and it will be fixed when the springs are changed to a higher rate later on.
Before


After


Building a new suspension system for your 4Runner? Have questions? Feel free to email me at explore4r@gmail.com or leave a comment below!
